Enhance your photography with this insightful look at the starburst effect. Learn what settings and approach you need to capture light rays and how to do it Stellar Filter Kit is your go-to source for creative brilliance.
What is the starburst effect?
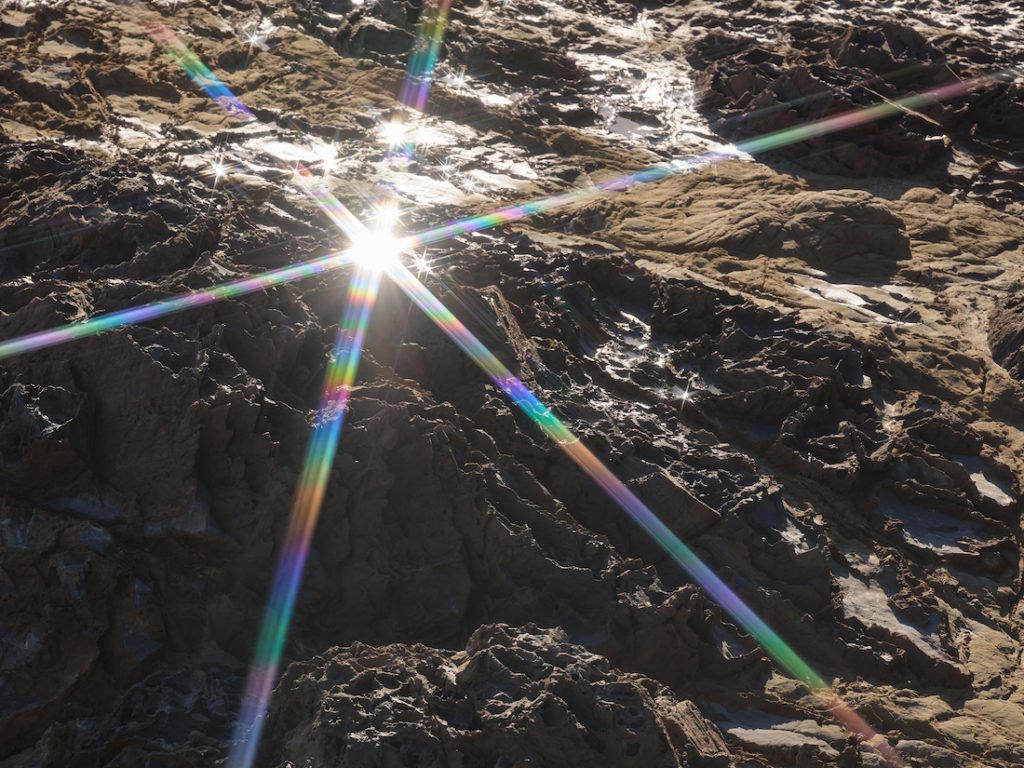
“Diffraction” is a photographic term you may be familiar with. If not, diffraction is essentially the propagation of light. As photographers, we see this optical phenomenon as something bad because of the associated loss of sharpness. But diffraction is also responsible for creating a dreamy starburst effect in photos, where the sun or a glaring light source creates a spiky beam of light.


What does the aperture have to do with the starburst effect?
The starburst effect in photography is mainly controlled and determined by your aperture, more specifically by the blades of your aperture. If you’ve asked two photographers to capture the same sun, they will likely produce different starburst effects based on their lens choices and the number of lens aperture blades (unless they use the same lens, of course!).
Lenses with an even number of aperture blades will produce starbursts with the same number of spikes, ie a lens with 8 aperture blades will produce a starburst with 8 spikes. On the other hand, lenses with an odd number of aperture blades produce twice as much, ie a lens with 9 blades produces an 18-peak starburst.
"The starburst effect is a complementary effect, so the best lens for starburst photography is the lens you would use anyway."


What aperture to use to create the starburst effect?
Light enters your lens and bends at your aperture blades. However, the starburst effect is most noticeable when your aperture is narrow, at f/11 or more. Thing is, the tighter you go (towards f/16 or f/22), the more prominent the starburst will be. But the narrower your aperture gets, the more likely you are to lose sharpness.
Use f/11 as a starting point, but do some testing at f/13 and f/16. You may notice a difference in the starburst effect, but it can be harder to tell any loss of sharpness unless you're viewing the images on a screen.


Which lens for starburst photography?
The starburst is a complementary effect, so the best lens for starburst photography is the lens you would be using anyway. For example, if you want to capture the vastness of a unique landscape, a wide-angle lens might be your best bet. Adjust your aperture to f/11 or more with the wide-angle lens and the starburst effect will add creative depth to the resulting image.
You may reconsider your lens choice for starburst photography if you are dissatisfied with the effect of your lens. As mentioned, the actual effect is determined by the number and shape of the aperture blades, which vary from lens to lens. If the six-star starburst isn't enough, you might want to look at a lens with more or an odd number of aperture blades to produce a much more spiky starburst.
You can also reconsider your lens choice if your current lens is particularly prone to flare. All optical glasses and lenses are made in different ways. Expensive lenses handle the bright sun much better than cheaper lenses. Ideally, your lens or lens filter is multi-coated to avoid too much lens flare.
"Photographs with a starburst effect are often taken in forests because the sun can filter through the canopy."

Black out the sun
Shooting straight back into the sun or another bright light source will always be a challenge. In this case you cannot protect your lens with a shutter and you may find that lens flare completely washes out your images and prevents a sharp starburst effect.
One way to get around this is to partially eclipse the sun. This can be difficult depending on the position of the sun in the sky. Observe the scene in front of you and see what you can use to block some of the sun. A building? A bridge? A cloud? A tree? Photos with a starburst effect are often taken in forests because the sun can filter through the canopy - a natural canopy that allows for reduced intensity and maximum starburst.
Too much coverage will not produce a burst. Insufficient coverage creates too much lens flare. Make sure you only partially cover the sun to strike a balance between eliminating flare and having a noticeable flare.
What if you don't want to block out the sun? Then you may need to make sure you're shooting at the right time of day. Photographing the sun while it's directly overhead can be too hard to render adequately. But atmospheric qualities differ between the zenith and the horizon, which is generally much hazier. So if you get up at dawn or shoot in the late afternoon when the sun is at its lowest, you should be able to avoid the lens flare that usually occurs when looking through the barrel at the largest light source in the universe.


If you go by the information above, there's a lot to consider when it comes to starburst photography. We've simplified things thanks to our Stellar Filter Kit, which allows you to create stunning starburst effects in 4-point, 6-point, or 8-point stars.
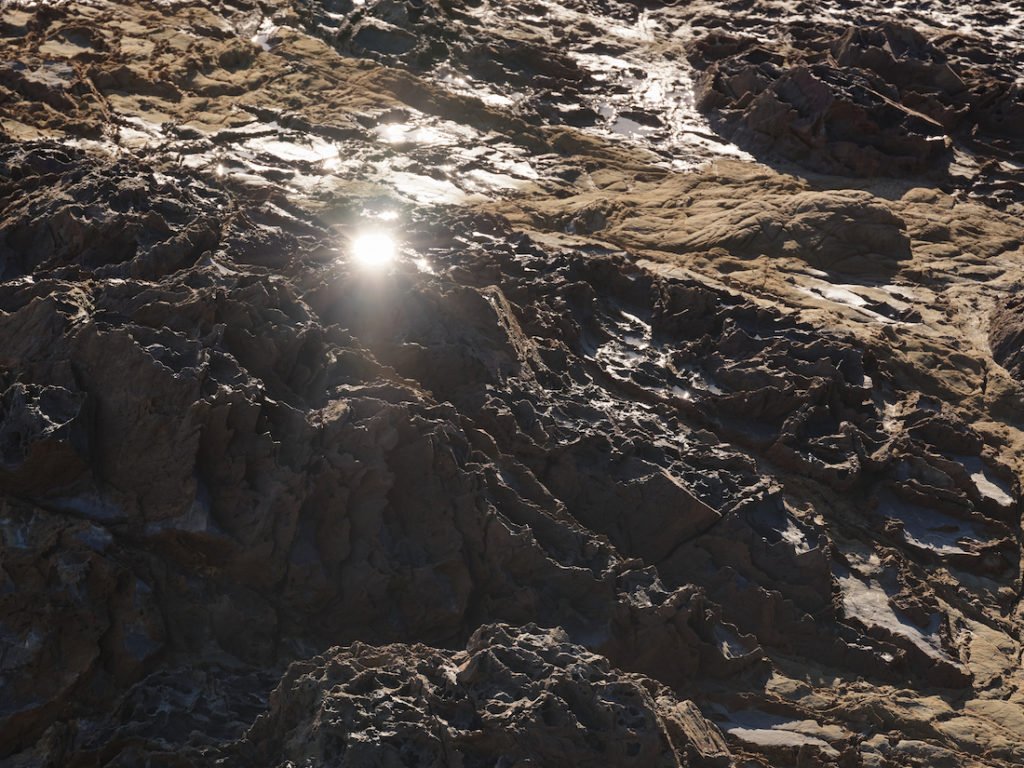
You can find more information about our star filter range at Stellar Filter Kitas well as some before and after image examples below.
summary
Chasing a starburst isn't just about chasing the sun. By following the rules and techniques above, or by using our Stellar Filter Kit, you can add dreamy depth to your images with any light source, from streetlights to the sparkling sea. Make sure your lens and/or filter is sparkling clean, then get on with your sky photography.
 Photo by Chiara Zonca
#Create #Starburst #Effect #leadership #Urth

Leave a Comment